





Attaching a shade sail on a balcony
to the railing, parapet and wall
On a balcony there is rarely a perfect point for every corner. Here you can read what the railing, parapet, house wall and balcony roof can bear, how to put up a fixed-tension sail and a rope tension shade sail, and which mistakes we know from customer questions. The figures come from our workshop in Westoverledingen.
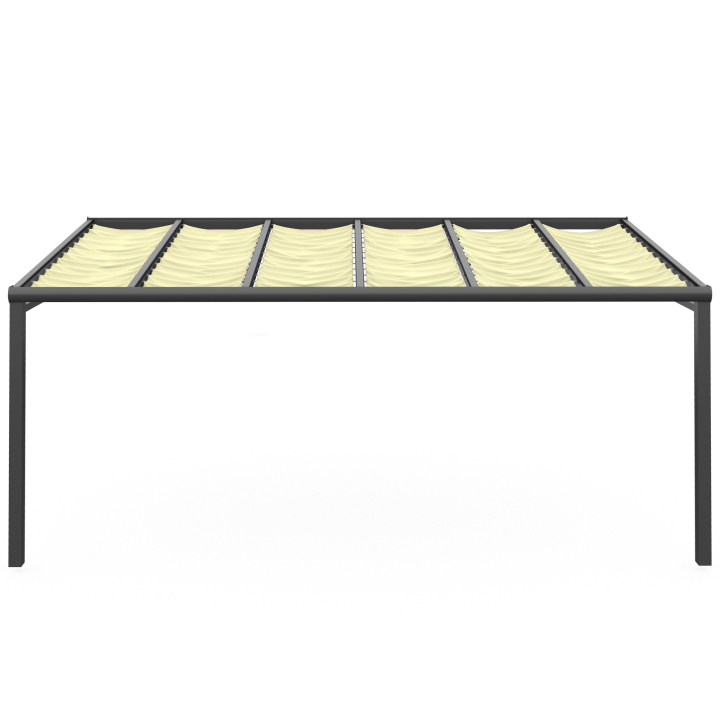
Which fixing holds on a balcony is decided by the surface at your points. Go through the wall, parapet, railing and roof one by one, then choose the type.
- House wall of masonry or concrete: takes a fixed-tension sail just as well as the stainless steel tensioners with façade plate of a rope tension shade sail.
- Insulated façade (ETICS): only with special ETICS plugs that carry the load through to the load-bearing masonry.
- Brick or concrete parapet: bears load like the house wall. Check plastic, composite material and thin sheet metal on site.
- Sturdy railing posts: carry the corners of a small sail, for example 2 x 2 m or the 3 x 3 x 3 m triangle.
- Balcony roof with rafters: a rope tension shade sail runs there between or under the rafters.
- If you do not want to drill at all, stay with the railing and use a screen cloth instead of a tensioned sail.
Railing, parapet, wall: what bears load on a balcony
Before you drill or order, check every possible point. All the types of fixing, also for garden and patio and entirely without posts, are covered at Attaching a shade sail.
Attaching a shade sail to the balcony railing
To attach to the balcony railing, you hook the corners of a small sail with carabiners onto sturdy railing posts. The railing must be firmly fixed and must not have sharp edges. Shade sail on the balcony without drilling describes a screen cloth lying flat against the railing, with no drilling at all.
Attaching a shade sail to the balcony parapet
A brick or concrete parapet bears load like the house wall, because masonry and concrete take the tension. With parapets of plastic, composite material or thin sheet metal, the load-bearing capacity cannot be reliably judged from a distance. Check beforehand whether the material will hold the screws permanently.
House wall
For rope tension systems, stainless steel tensioners with a façade plate are the solid solution. They spread the tension forces cleanly into the façade and are durable. On an insulated façade, special ETICS plugs are needed. More on this at Attaching a shade sail to the house wall.
Balcony roof or pergola with rafters
If your balcony has a roof with rafters, the rafters are good points. The rope tension shade sail runs there between or under the rafters. How this works on timber and metal is explained at Attaching a shade sail to roof rafters.
Rented flat
Before any fixing to the façade or railing, obtain the landlord's written consent. This applies especially to drilling into an insulated façade.
Balcony fixing for shade sails: what does not hold
A gutter, thin galvanised sheet metal and a trellis do not take the tension of a tensioned sail. Look for a load-bearing point in masonry, on a post or on a beam.
On a façade with external thermal insulation (ETICS), ordinary plugs only grip in the insulation layer. Use ETICS plugs that carry the load through to the masonry.
We cannot judge from a distance whether a surface like this will hold the screws permanently. Confirm this on site before you order.
If it is unclear with a rope tension awning whether a railing bracket can withstand the tension forces, we can make a single panel first on request. You test it at your own risk, and the remaining panels follow if the fixing holds.
The fixed-tension sail in six steps
Choose the size
For a straight balcony side, a 2 x 2 m sail is enough, and for a corner balcony the 3 x 3 x 3 m triangle fits. You attach it to the house wall, railing posts or pergola beams.
Plan the distances
A carabiner and turnbuckle sit between the sail corner and the fixing point. The distance between the points is therefore 30 to 50 cm greater per corner than the sail.
Plan the slope
One corner sits lower than the others: 25 to 30 cm of height difference per metre across the diagonal. Place the low corner on the outside so that the water does not run down the house wall.
Prepare the points
Fit the mount for the carabiner at each point. In the wall the plugs sit in the masonry, and on insulated façades ETICS plugs are used.
Hang the sail
Hook the carabiner and turnbuckle into the stainless steel ring at each corner. The ring sits in the webbing instead of punched eyelets and takes the tension.
Tension diagonally
Tension diagonally, corner against corner, until no wrinkle is left. Then check the slope once more.
On the balcony on two ropes
The rope tension shade sail runs on two support ropes with sliding hooks and can be pushed together. You install it between or under the rafters of a balcony roof, or without a roof on the house wall with a façade plate. First you fit and tension the ropes, then you hang the sail. The illustrated guide with every step is at Tensioning a shade sail.
- All the installation accessories are included, from the stainless steel wire rope tensioner sets through polyester rope, sliding hooks, rope stoppers and slide brakes to the operating pole.
- We only supply stainless steel rope by arrangement; it is not a missing part.
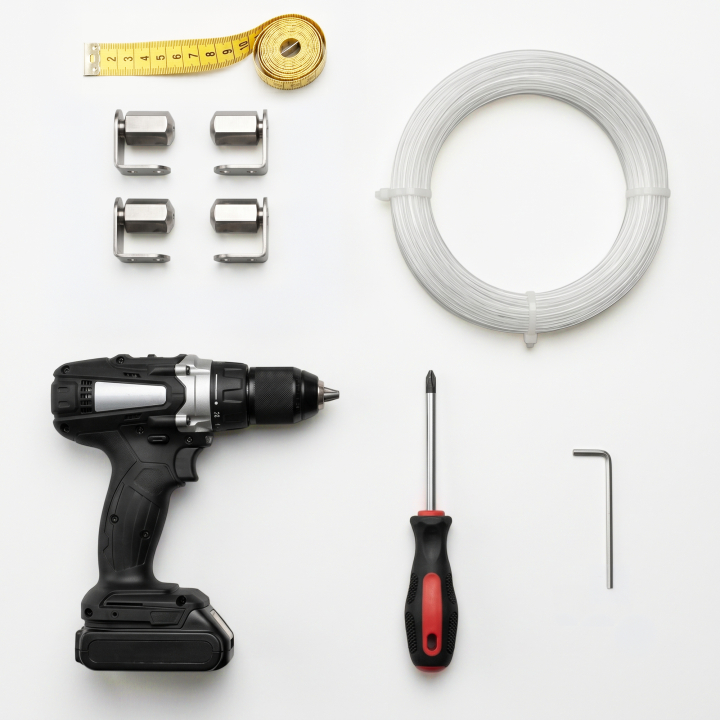
- Tools: drill, screwdriver or cordless screwdriver, Allen key, folding rule. On rafters of aluminium or metal, pre-drill with 4.5 mm.
- Without a roof, the pushed-together sail must be kept under cover in rain and storms. If you have no space for this, take it down beforehand. It is not a substitute for a roof, and without a roof you use it at your own risk.
How the sail keeps its shape for a long time
A shade sail gives shade; it is not a storm or rain roof. What applies in gusts is covered in detail at Shade sail in wind.
Push together in rain and wind
You push the rope tension shade sail together in rain, strong wind or storms. The fabric bundle then lies under the roof or another shelter.
Take down a fixed sail in a storm
A fixed-tension sail is weatherproof, but not storm-proof. When a storm is forecast and before winter, take it down, let it dry and store it dry.
Retension the ropes
If the tension eases, tighten again using the thread of the tensioners. If it still sags, stainless steel wire rope can be tensioned more tightly than polyester rope.
Hang it in spring
Put it up as soon as no more night frosts are expected, and take it down before the first autumn storm. Let the fabric dry before storing it.
The right sail for your balcony
A sail that fits your points is the easiest to install. We sew to your measurements in Westoverledingen. For the order, you need the distances between the fixing points, and for the rope tension shade sail the clear distance between the beams. For the patio, read on at Attaching a shade sail on the patio.
Shade sail with three or four corners
Triangle, square, rectangle or trapezoid, in fixed sizes or made to measure: made-to-measure shade sail.
Rope tension shade sail
Sliding on two support ropes, with complete installation accessories: made-to-measure rope tension shade sail.
Balcony screen
Flat against the railing, with eyelets in the hem and cable ties or cord: made-to-measure balcony screen.
More questions about the sail
Fabric, colour, care and size are covered in the shade sail guide.
Frequently Asked Questions
Sources
Last reviewed: 23.10.2026 · Reviewer: Germes-Team
Not sure your balcony will hold the sail?
Send us a photo of your balcony and the distances between the possible fixing points. We will tell you which type suits it and how to put it up safely.