





Installation guides
step by step
Eight guides for everything we build that gets installed - with the tool list, the drilling pattern and the points where mistakes usually happen. All of them are visible on this page, one click away.
Installation guides at a glance
Pick your product. Every guide opens with the tools you need and the fixing material that comes in the box.
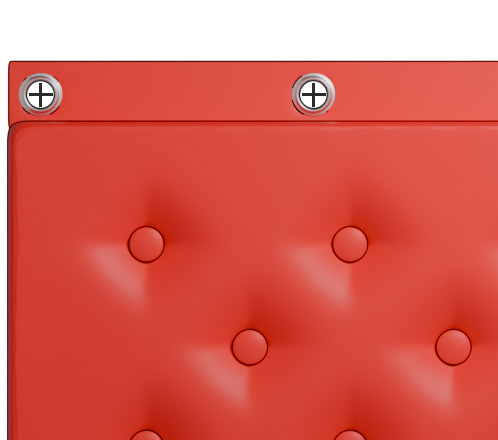
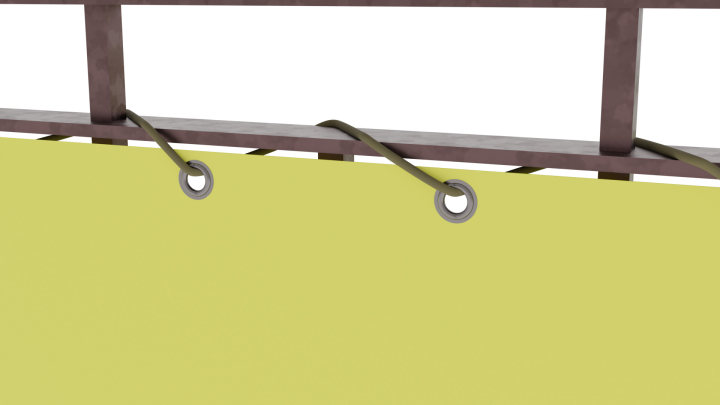
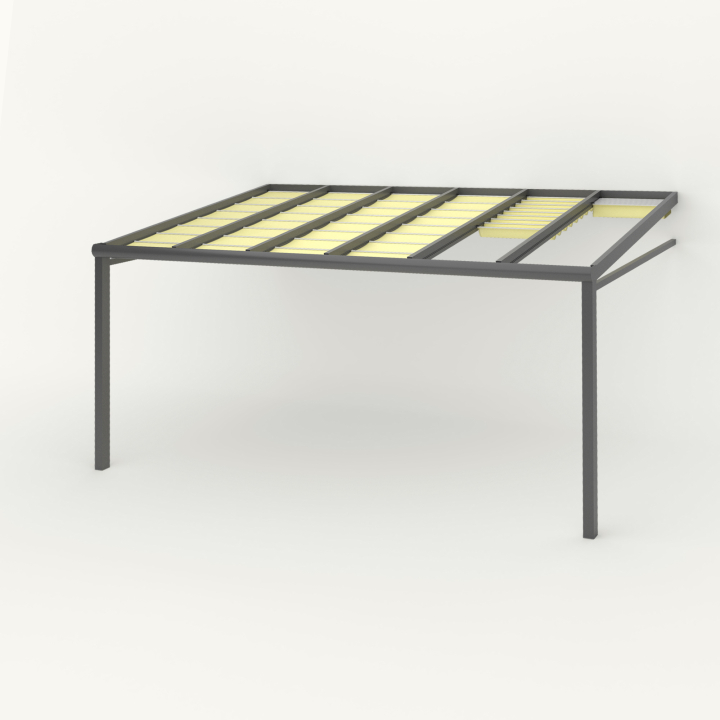
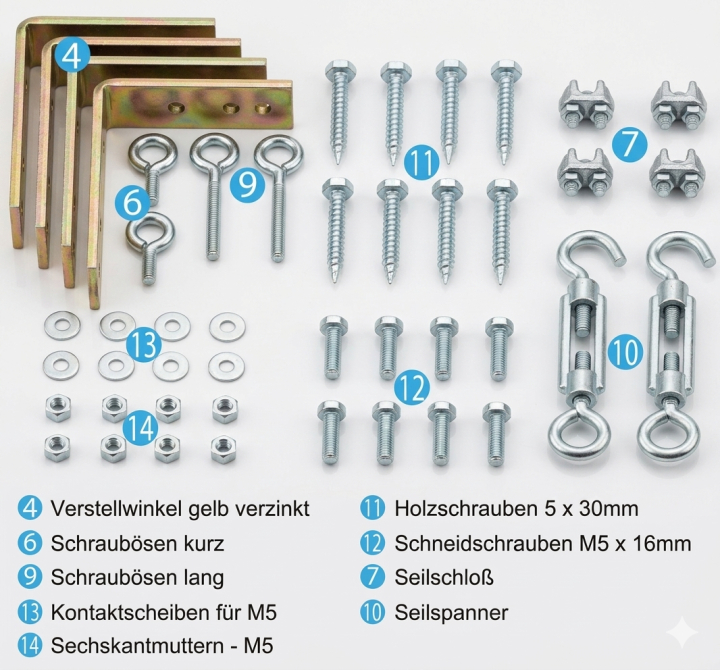
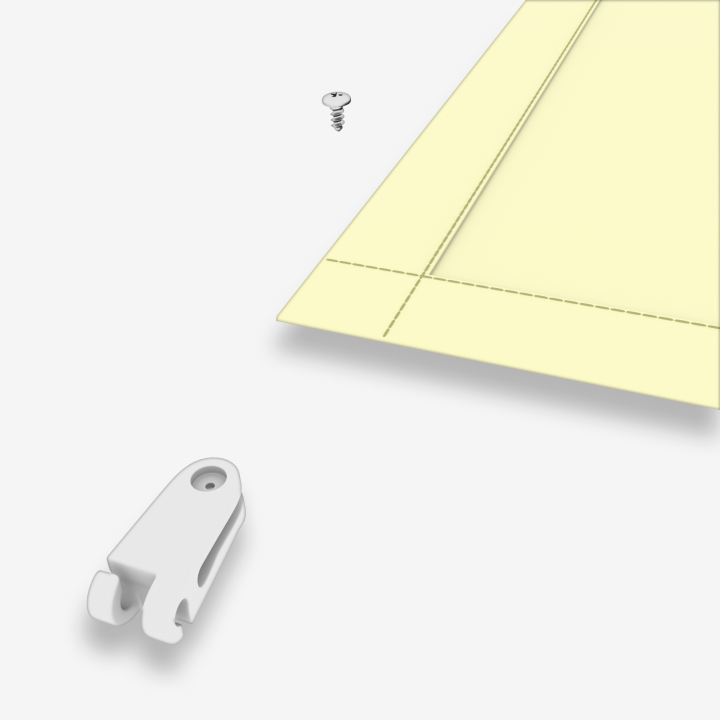
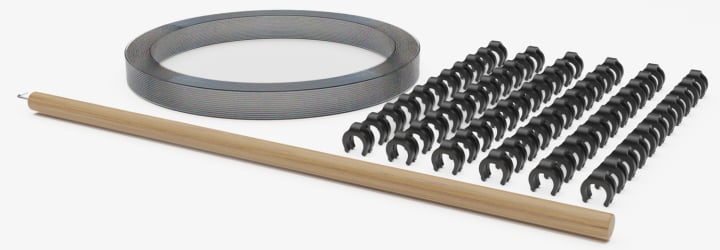
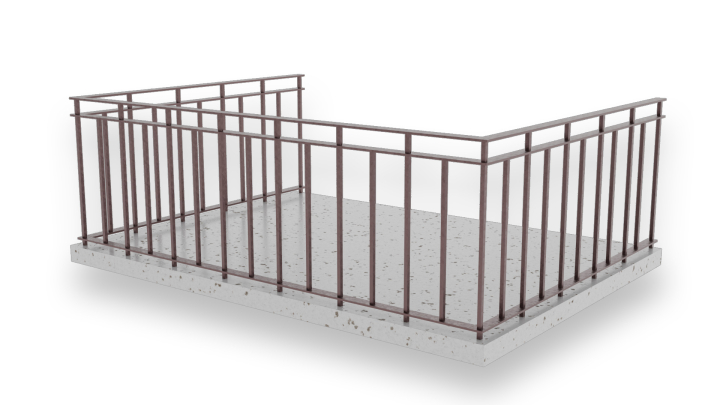
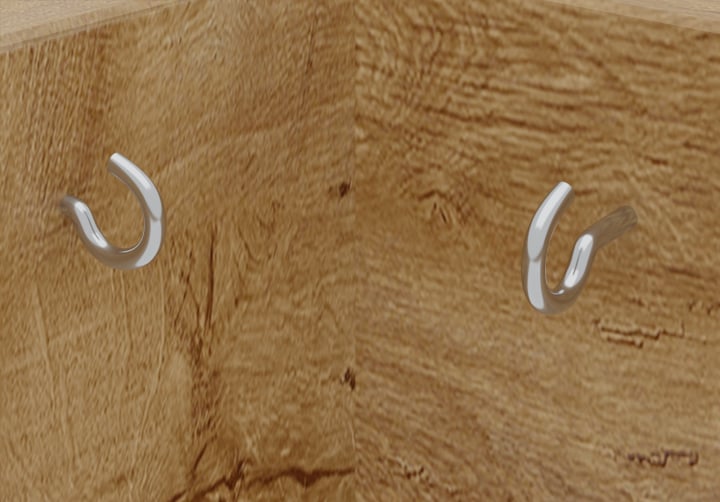
All eight guides as a list
The same guides without pictures - quicker to scan when you already know what you are after.
Tools needed almost every time
The exact list sits in each guide. These three things are on the table for practically every installation.

Drill and bits
8 mm for concrete and masonry, 4 mm for timber. On an external insulation system an anchor plate belongs with it.

Spirit level and pencil
For levelling and for marking the drill points. On a sun sail you deliberately work with a slope instead.

A second person
Anything tensioned overhead - sails, awnings, folding systems - goes noticeably faster and safer with two.
Before you drill
Four points where installations most often go wrong - all four can be checked beforehand.
Check the substrate
Concrete, clinker, aerated concrete and external insulation each need different fixings. In an insulated facade an anchor plate or a threaded rod has to reach the load-bearing layer.
Plan the slope
A sun sail or an awning without slope collects rainwater. At least 15 degrees, so the water runs off reliably.
Measure twice, drill once
Hold the product against the marked points and check before drilling. One hole too many stays visible in the facade for good.
Wait for dry weather
Tensioning fabric while it is wet means it pulls in as it dries. Fit it dry and the tension stays where you set it.
Frequently Asked Questions
Install your ideal solution with confidence
Unsure about the substrate or the span? Our customer service installs these systems themselves and can tell you what will hold in your case.