





Build your own shade sail
from the fixing point to the tensioned corner
Building a shade sail yourself means deciding what you will do yourself, choosing the fixing points, sewing or ordering the sail, fitting the hardware and tensioning it with a slope. Here you can read the whole plan and what matters at each step. The figures come from our sewing workshop in Westoverledingen and from the questions customers ask us about building their own.
If you want to build a shade sail yourself, you plan from the fixing point, not from the shade. One decision comes first: what will you do yourself and what will you buy ready-made?
- Sew it yourself or made to measure: if you can sew, buy outdoor fabric by the metre and sew the sail yourself. Otherwise we make it to measure or to your drawing, and you only build the points and the fixing.
- Points first: masonry, concrete and a post in a concrete footing hold the tensile force, a gutter and a trellis do not. If a point is missing, a mast replaces it.
- The shape follows the points: three points make a triangle, four make a square, a rectangle or a trapezium.
- The parts: a sail with stainless steel rings in the corners, a carabiner and a turnbuckle for each corner, plus the fixing to the wall or post.
- The process: choose the points, measure the distances, sew or order the sail, fit the fixings, hook it in and tension it diagonally.
- Should it slide? Then it is a rope tension system. This pays off more as a set with all the accessories than as individual parts.
Which fixing suits your situation
A shade sail is not planned where you want the shade, but where it will hold. So first clarify the points, the surface and the slope. You can read about all the fixing options in detail under how to fix a shade sail.
Load-bearing points
Masonry, concrete, a post in a concrete footing or a strong tree trunk with a strap instead of a screw take up the tensile force. A gutter, a trellis and thin sheet metal do not hold it. On insulated facades, standard wall plugs only hold in the insulation, so you need special ETICS plugs that pass the load into the masonry.
The shape follows the points
Three points make a triangle, four make a square, a rectangle or a trapezium. With the same edge length, the triangle shades much less: the equilateral triangle of 3 x 3 x 3 m covers 3.9 m², while the 3 x 3 m square covers 9 m².
Slope from the start
One corner sits clearly lower than the others: 25 to 30 cm of height difference per metre, measured along the diagonal. Put the low corner where the rainwater may run off.
Building a shade sail for the patio
On a patio, the long edge often runs along the house wall and the two front corners go on posts. Usual sizes are 3 x 6 m, 4 x 6 m or 5 x 6 m. Add half a metre on each side to the area that should be in shade, because the shadow falls at an angle.
Building a shade sail for the balcony
On a balcony, short spans are enough: 2 x 2 m for the straight side, the 3 x 3 x 3 m triangle for a corner balcony. It is fixed to the house wall, railing posts or pergola beams. You can avoid any work on the facade with the solutions under shade sail on the balcony without drilling. In a rented flat, get the landlord's written consent first.
Fabric, allowances and corners
A shade sail is sun protection that hangs outside for the whole season. The fabric must be lightfast, shed rain and withstand the pull at the corners. You can read how to sew the hem, eyelets and allowances in detail under sewing a shade sail.
320 cm width without a centre seam
Dralon Acrisol and Agora Liso come in 320 cm width, Agora Air in 300 cm. This lets you make large sails without a centre seam, which saves work and looks neater. You can buy our outdoor fabrics by the metre.
Lightfastness
Agora Liso is solution-dyed and reaches a lightfastness of 7-8 out of 8 according to UNE EN ISO 105-B02. Dralon Acrisol is at 4-6 out of 8, depending on the colour. For seasonal use this is not a problem, but with year-round use in full sun, sensitive colours can fade after a few years.
Water-repellent or waterproof
Agora is water-repellent with a 180 mm water column according to UNE EN ISO 20811: normal rain beads off, but water gets through in lasting or heavy rain. Only coated fabric is waterproof, such as our PU-coated Cover version. Because it lets no air through, it needs a consistent slope. More under waterproofing and winterising a shade sail.
Sail size from the points
Measure the distance between the fixing points. A carabiner and a turnbuckle sit between the sail corner and the point, so 30 to 50 cm per corner must be added. The finished sail is correspondingly smaller than the distance between the points.
Reinforce corners and edges
The tensile force sits in the corner. Instead of punched eyelets, we fit a stainless steel fixing ring there, and the hems and corners are reinforced with webbing. Along the long edges, eyelets with a 2 cm inside diameter at a spacing of about 30 cm are possible, plus closed loops of about 40 cm that you pull over the fixing points.
Hardware, ropes and tools
A tightly tensioned sail needs only a few parts. A sliding rope tension shade sail, on the other hand, needs a whole set of ropes and wire rope tensioners. The guide on how to fix a shade sail describes which hardware suits which surface.
Carabiner and turnbuckle
You hook a carabiner into the stainless steel ring at each corner, and a turnbuckle sits between the corner and the fixing point. With it you tension the sail and re-tighten it later.
The right rope
For the rope tension awning, polyester rope with a 1,800 N tensile load is standard. The same goes for the rope tension shade sail. We supply stainless steel wire rope only by arrangement, for example from a rope length of around 6.5 m.
Wire rope tensioner on wood or metal
On wood, the stainless steel wire rope tensioner sits on a mounting plate. On pergolas with a metal frame, you screw it straight to the profile and the plate is not needed. On the house wall, we recommend stainless steel tensioners with facade plates for rope tension systems, because they spread the tensile force cleanly into the facade.
Accessories in the set
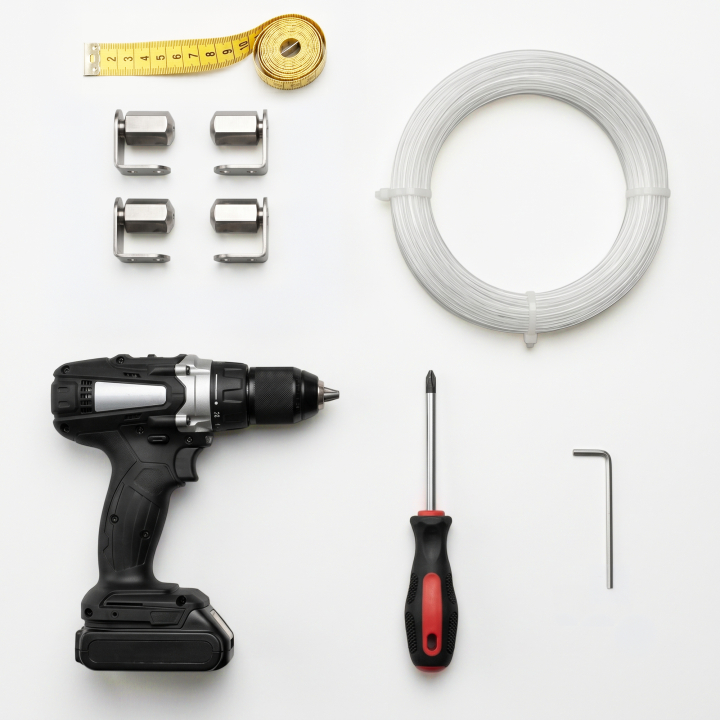
Our sliding systems come with the complete mounting accessories, including wire rope tensioners, rope, glide hooks, stoppers and an operating pole. To fit the glide hooks on the rope tension shade sail, a folding rule, a pencil and a Phillips screwdriver are enough.
Buy the parts separately?
With a rope tension system, this rarely pays off. Buying the mounting material and the fabric separately costs more than the complete set, and you only get a meaningful function test once the sail is sewn.
How to build a fixed shade sail
Choose the points
Choose three or four load-bearing points. One corner sits 25 to 30 cm per metre lower than the others so that rain runs off.
Measure the distances
Measure the distances between the points. Subtract 30 to 50 cm per corner for the carabiner and turnbuckle, which gives you the sail size.
Cut the fabric
Cut the fabric with allowances for the hem and edges. At 320 cm width, the sail stays free of a centre seam.
Sew the edges and corners
Reinforce hems and corners with webbing and fit a stainless steel fixing ring in each corner.
Fit the hardware
Fit the counterpart at each fixing point and hook the carabiners and turnbuckles into the corners.
Tension and check
Tension the sail diagonally, corner against corner, until no wrinkle remains. Then check the slope.
Typical mistakes when building it yourself
If the sail is sewn to the full distance between the points, there is no room for the carabiner and turnbuckle. It then cannot be pulled taut.
A sail tensioned level collects rain and water pockets form. With waterproof fabric this is especially critical, because no water runs through.
A gutter, a trellis and sheet metal do not carry the tensile force. On insulated facades, standard wall plugs are not enough.
With a rope tension system, cut the rope to length on site only once the tensioner is fully unscrewed. Otherwise there is no tensioning travel left for re-tightening. More under tensioning a shade sail.
With a rope tension system, first fit all the ropes and tension them firmly, then hook in the sail. The other way round, the ropes can hardly be pulled taut any more.
A shade sail is weather-resistant, but not storm-proof. Sliding sails are pure sun protection: in rain, strong wind and storms, you slide them together. Without a roof above, the gathered sail must then lie under cover. If there is no such place, take it down beforehand. It does not replace a roof, and without a roof you use it at your own risk.
Posts, frame and rope track
If there are no load-bearing points, you can build a structure for a shade sail yourself. There are three ways to do this, depending on what is already standing on site. The guide on how to fix a shade sail shows which points carry the load with no posts at all.
Post or mast
A post in a concrete footing replaces the missing point. It carries the tensile force of the tensioned sail and the wind as well. You can read what matters for the mast under building a shade sail mast yourself.
Frame on a pergola or roof
The rafters of a pergola or patio roof carry a sliding sail. The rope tension shade sail runs there on two parallel carrying ropes between or under the rafters, and without a roof also on the wall. More in the rope tension shade sail guide.
Build a rope track yourself
A rope track consists of carrying ropes, wire rope tensioners and glide hooks on the sail hem. For the rope tension shade sail, you give the length including the wire rope tensioners, and production deducts 10 cm for the tensioners. For a taut look, the glide hooks sit about 20 cm apart, and for a wavy look about 30 cm.
Long span without rafters
For free spans of about 6 to 10 m without rafters, there is a special solution with stainless steel wire rope and eye bolts. It sags more and reacts more sensitively to wind. We design this solution individually, based on photos, surface and sketch.
Sew it yourself or have it made to measure
If you are planning a shade sail as a DIY project, you do not have to do everything yourself. You can buy the fabric and sew it, order a ready-made sail to measure and fit it yourself, or set up a sliding system as a kit. You will find all further topics in the shade sail guide.
Fabric for sewing yourself
If you sew yourself, you will find our outdoor fabrics as fabric by the metre, some of them in 320 cm width.
Ready-sewn, fitted by you
Triangle, square, rectangle or trapezium, in fixed sizes or made to measure: made-to-measure shade sail. You enter each edge length in the shade sail configurator.
To your drawing
If no standard shape fits, we sew to your drawing, right-angled or with curved edges, also with a cut-out around a support beam. For this we need all the dimensions, the fixing points and your wishes for eyelets and loops.
Sliding as a set
The made-to-measure rope tension shade sail comes with the complete mounting accessories. The parts and the order of assembly are under shade sail assembly.
Frequently Asked Questions
Sources
Last reviewed: 22.10.2026 · Reviewer: Germes-Team
Would you rather have it sewn to measure?
Send us the distances between your fixing points, a photo and a sketch. We will tell you which sail suits them, and if you wish we will sew it to your drawing.