





Make your own balcony privacy screen
Sew it yourself or have it made to measure
Building a balcony privacy screen yourself works with outdoor fabric, eyelets and cable ties on your existing railing. Here you can read what you need for it, how to measure correctly and where doing it yourself reaches its limits. At the end there is an honest comparison with a balcony screen that we sew to your measurements.
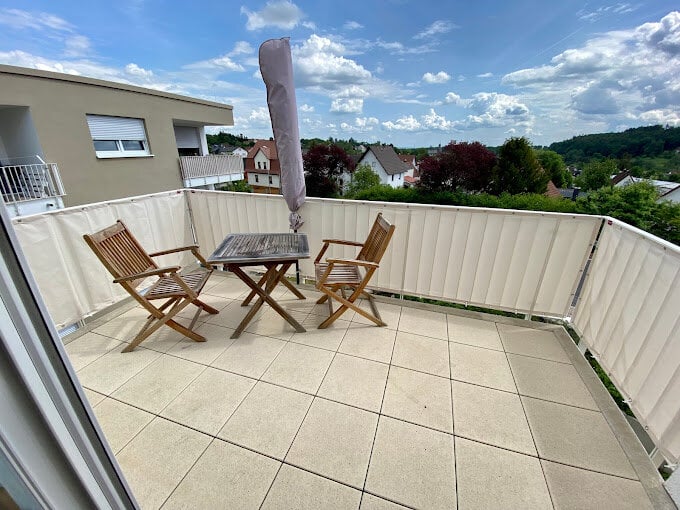
How can I make a balcony privacy screen myself? The easiest way is with a cloth made of outdoor fabric that hangs on the railing by eyelets in the hem. This gives you privacy on the balcony without drilling. The steps at a glance:
- Measure each section between the fixing points on the railing, and subtract 2 to 3 cm from the width and 1 cm from the height.
- Choose an outdoor fabric that is lightfast, water-repellent and tightly woven.
- Fold and sew a hem all round, so that the eyelets sit in several layers of fabric.
- Fit stainless steel eyelets into the hem at an even spacing.
- Fix the cloth to the railing with cable ties or cord.
- Without a sewing machine: have the made-to-measure balcony screen made, and the eyelets are already in.
What you need to do it yourself
A DIY fabric privacy screen for the balcony needs little material, but the right material. The fabric hangs in sun and rain all summer, so there is no room for compromise here.
Outdoor fabric
Choose a fabric for outdoors, such as solution-dyed acrylic. For long panels without a centre seam, there is outdoor fabric in extra width, for example Agora Plains in some colours in 320 cm width. Used crosswise, the fabric width covers the height, and the length comes from the roll. You will find an overview, many of them also by the metre, under outdoor fabrics.
Plain or striped
Our balcony screens come in four fabrics, plain or striped, all tightly woven and opaque. Which fabric suits your balcony is covered under balcony privacy screen ideas.
Sewing machine, thread and scissors
The sewing machine must cope with several layers of outdoor fabric, because the hem lies double or triple. You also need a thread that withstands sun and damp.
Eyelets and eyelet tool
Stainless steel eyelets do not rust. To fit them, you need eyelet pliers or a setting tool in the right size.
Cable ties or cord
These hang the cloth on the railing. Cable ties hold firmly, while cord is easier to undo.
Tape measure
A tape measure, to measure the distance between the fixing points on the railing for each section.
How to sew a balcony screen yourself
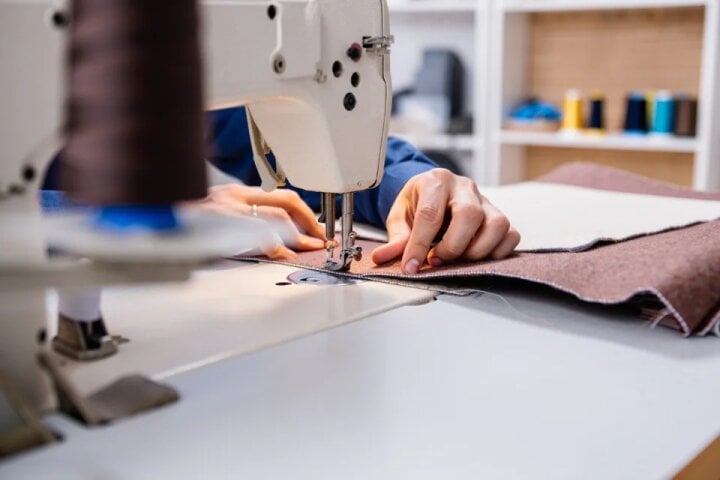
If you want to build a balcony privacy screen yourself, it is best to follow the finished balcony screen: it has a 3.5 cm wide, three-layer hem all round, in which stainless steel eyelets sit at a spacing of about 20 cm. Here is how to proceed:
- Take measurements: width and height for each section, as described in the section Measuring.
- Cutting: add the hem allowance all round. For a three-layer hem, you fold the edge over twice and need twice the hem width on each side.
- Hemming: fold the edge over twice, pin it and stitch close to the inner edge.
- Fitting eyelets: mark the spacings, punch holes in the hem and set the eyelets with the tool. At the top and bottom, and at the sides if needed.
- Hanging: align the cloth and fasten it to the railing eyelet by eyelet. The process is shown in fixing a privacy screen to a balcony railing.
How to measure your balcony correctly
Whether you sew it yourself or have it made: the measurement decides whether the cloth sits taut. The cloth is tensioned on the railing and must therefore be slightly smaller than the frame. So you do not measure the whole railing, but the distance between the places where cable ties or cord hold the cloth. Measure each section separately, that is, width and height for each section.
Find the fixing points
First look at what the cloth should hang from: usually the handrail at the top, the lower crossbar at the bottom, the posts at the sides. Measure between these places, because that is where cable ties or cord will hold later.
Width per section
Measure from post to post and subtract 2 to 3 cm. Fabric gives a little when tensioned, the more so the longer the cloth. With the deduction, it can be pulled taut and does not sag.
Height per section
Measure from the handrail at the top to the lower crossbar and subtract 1 cm. This keeps the cloth taut in height as well.
Measuring corners
If the railing runs round a corner, you have two options. Either a separate cloth for each side: then you measure each side separately as above. Or one long cloth over two or three sides round the corner: then you measure the width as the sum of all sides. You decide which you prefer.
Several sections
For gates, steps or sections of different widths, a separate cloth is sewn for each section. You can read how to divide a balcony sensibly into sections under balcony enclosure ideas.
Hinges and latch
If there are hinges, a handle or a lock on the gate, measure these places as well. For made-to-measure production, we work cut-outs into the fabric for them.
Ordering made to measure
We make the dimensions you enter in the configurator exactly as given, and we deduct nothing more. Which deviations are normal for fabric is explained in tolerances for made-to-measure items.
Sew it yourself or have it made to measure
Doing it yourself is worthwhile if you already have a sewing machine and tools and enjoy sewing. If you do not, you get the cloth ready-made with eyelets. The differences at a glance:
| Point | Sew it yourself | Made to measure |
|---|---|---|
| Fabric | choose and buy it yourself, look for lightfast and water-repellent | four opaque outdoor fabrics, plain or striped |
| Tools | sewing machine for several layers, eyelet tool, scissors | only for fitting: side cutters or scissors |
| Hem and eyelets | fold, sew and set the eyelets yourself | ready-sewn hem with stainless steel eyelets |
| Dimensions | you measure and cut, a cutting mistake costs new fabric | you measure, we sew exactly to your details |
| Several sections | cut and hem each section separately | one cloth per section with its own width and height |
| Fixing | get cable ties or cord yourself | cable ties or cord tape in a matching colour included on request |
| Effort | your time for cutting, hem and eyelets | no sewing, just hanging |
Ideas for a DIY balcony privacy screen
If you would rather craft a privacy screen yourself, fabric takes you furthest. Four ideas that you can make yourself or order ready-made. Mats made of plastic, bamboo or wood are a different design, which we do not make.
Cloth on the railing
The classic: a cloth with eyelets that hangs on the railing with cable ties. It protects from prying eyes and keeps the sun off the floor.
With cord for easy removal
Cord instead of cable ties, and you can take the cloth down quickly in autumn. How to route and tension the cord is shown in fixing balcony screening.
Curtain to the side
Towards the neighbour, a curtain that hangs on a wire rope or a rail and slides to the side helps. Ready-sewn, it is available as a made-to-measure balcony curtain or as an outdoor curtain.
Shade from above
A cloth on the railing protects from prying eyes, but not from the midday sun. A shade sail over the balcony takes care of that.
What a balcony screen cannot do
A textile privacy screen is not a storm or rain roof. Our fabrics are water-repellent, not waterproof. In a storm, it is better to take the cloth down. What helps in strong wind is covered under wind protection for patio and balcony.
Before you fix anything to the railing, ask your landlord, preferably in writing. You can find out whether there are regulations from the local council's building authority.
Colours on the screen differ from the real fabric. Order free fabric samples before you buy fabric or order a cloth.
Frequently Asked Questions
Sources
Last reviewed: 09.11.2026 · Reviewer: Germes-Team
Would you rather have it ready with eyelets?
In the configurator you enter the width and height for each section and choose fabric and colour. We sew the balcony screen with hem and eyelets, and you only have to hang it.